Planning Space for a New Bulk Milk Tank Installation
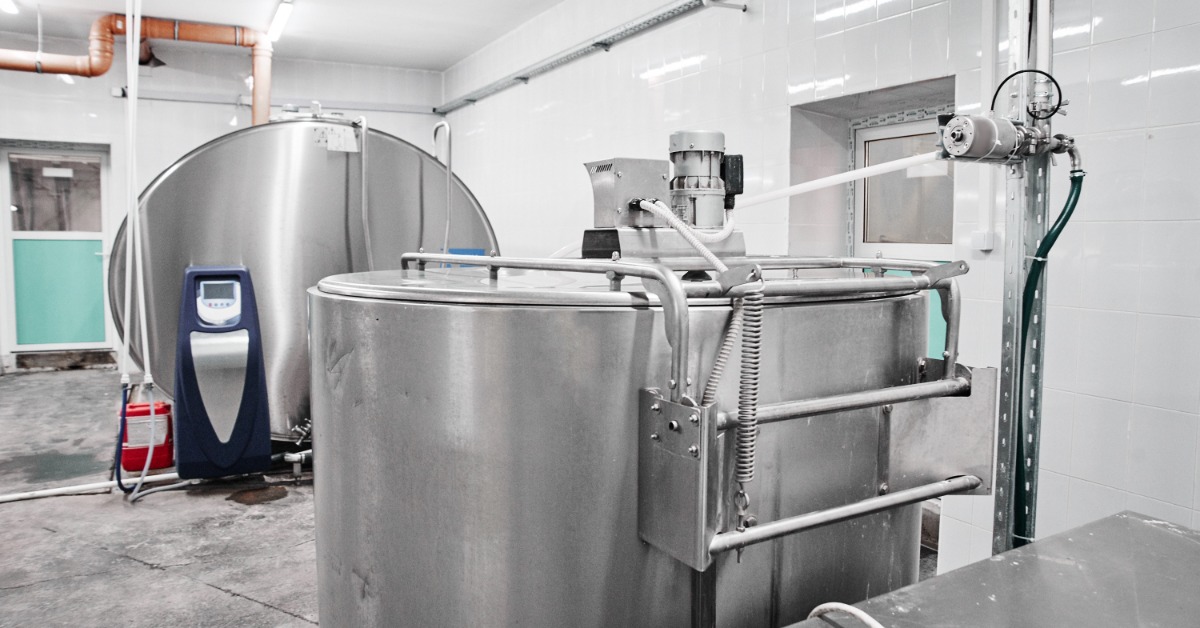
A new milk tank may fit within a room’s basic dimensions but still leave too little space for delivery, utility connections, cleaning, or routine service. Planning space for a new bulk milk tank installation means looking beyond the tank’s footprint and considering how the entire area will function with the equipment in place. With a few careful measurements and layout checks, you can avoid common space issues before installation begins.
Measure the Available Installation Area
Start by measuring the full area where the tank will sit, rather than relying on an estimate of the room size. These measurements give you a more realistic picture of which tank dimensions will work comfortably in the space. You’ll also need enough clearance around the tank for people to walk, clean, inspect components, and reach nearby controls or connections. Keep in mind that the tank’s footprint is only part of the space requirement, since lids and other parts may need additional room.
Before choosing a location for the bulk tank, record details such as the:
- overall floor length and width
- ceiling height above the tank
- distance from nearby walls
- locations of doors and windows
- existing pipes, drains, and utilities
- permanent equipment or structural obstacles
Choose the Right Capacity
When planning space for a new bulk milk tank installation, consider your average daily production and the typical time between milk pickups or processing. Your bulk milk tank should be large enough to handle normal production without regularly reaching its limit. Also account for seasonal changes, production swings, and any expected herd growth that could increase milk volume over time.
The goal is to select a size that fits both your current output and the way you expect production to change in the future. At the same time, choosing far more capacity than you need may not make sense for your operation. A larger unit also changes the amount of floor space, clearance, and utility access the installation may require.
Seasonal Production Changes

Milk production can rise or fall throughout the year as weather, feed, and lactation stage change. Look at production records from different seasons instead of sizing the tank around a single month or recent average. If certain times of year consistently bring higher output, make sure the tank has enough capacity to handle those peaks.
Production Fluctuations
Daily milk volume won’t always stay at the same level, even when herd size remains steady. Changes in calving schedules, herd health, feeding routines, and individual cow production can create short-term increases or decreases. Review typical high-volume days and your average output to get a more complete picture of your storage needs. Building some room for normal fluctuations can reduce the chance of running short on capacity when production temporarily rises.
Expected Herd Growth
If you expect to add animals over the next several years, estimate how that growth could change your total milk volume. Think about how many additional cows or goats you realistically plan to milk rather than choosing capacity for an undefined future expansion. Then compare that projected production with your current storage needs to see whether a larger tank makes sense now.
Check Delivery and Entry Access
The final tank location is only part of the space-planning process. You’ll also need to make sure the tank can move from the delivery point to the milk room without getting blocked by narrow openings or tight turns. Measure the entire path in advance and consider whether installers will need extra room for carts, lifting equipment, or other tools.
Check the full delivery route for:
- exterior door and gate widths
- interior doorway dimensions
- tight corners or narrow hallways
- low ceilings or overhead obstructions
- steps, thresholds, or uneven surfaces
- space for moving and positioning equipment
Plan Plumbing and Drain Connections

A tank needs to work with the milk room’s plumbing, not simply fit between the walls. Before settling on the final position, note the locations of water lines, drains, wash equipment, and other plumbing connections. Keeping those points accessible can make installation and routine use much easier.
It’s also worth thinking about how water moves through the room during cleaning. Floor slope and drain placement can affect whether wash water flows away properly or collects around the equipment. A good layout keeps those areas functional without making hoses, pipes, or fittings difficult to reach.
Locate Water and Drain Lines
Map out the water supply and drain locations before the tank arrives. Check whether the existing connections are positioned appropriately or whether changes may be needed. Keep valves, fittings, and drain access clear enough for inspections and regular use. Planning these elements together can also keep hoses and pipes from creating obstacles around the tank.
Confirm Electrical and Utility Needs
Bulk tank systems may need electrical service for cooling, agitation, controls, cleaning equipment, or other components. Confirm the requirements for the specific tank before deciding on its exact location. Existing outlets or service points may not suit a different unit, even if they’re nearby.
Also consider access to the electrical components after installation. Panels and switches should remain easy to reach without squeezing behind equipment or stretching cords across the room. Coordinating these details with the tank layout can make the finished setup cleaner and easier to manage.
Check Floor Strength and Levelness
The floor beneath the tank needs to be stable and level enough to support the equipment during regular use. Check the area for cracks, uneven sections, settling, or other damage that could affect how the tank sits once it’s installed. A level surface also makes it easier to position the tank correctly and keep the setup stable.
Keep in mind that the floor must support the tank when it’s full. If you’re unsure whether the existing surface is suitable, review the tank’s installation requirements and have the floor evaluated before delivery.
A successful bulk tank installation starts well before the equipment arrives. Capacity, access, utilities, floor conditions, and room layout must work together for the setup to function well. Taking time to check those details in advance can make installation smoother and reduce the chance of expensive changes later.