
Posted by Scott Ford on Sep 16th 2026
Common Mistakes When Using a Milking Bucket for Cows
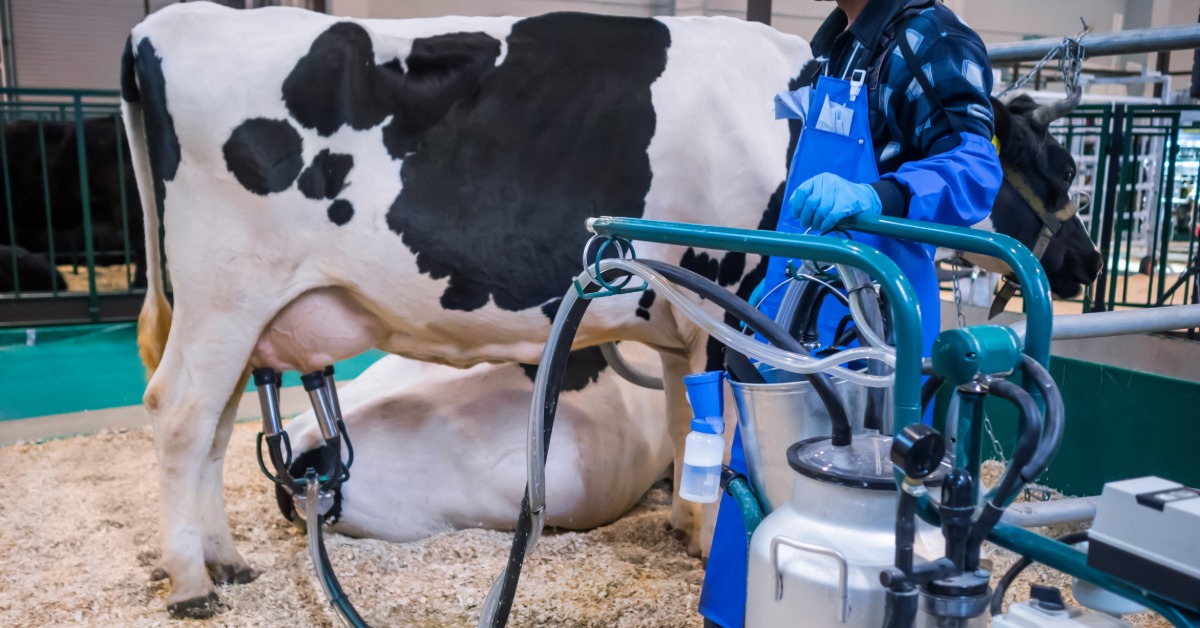
Milking with a bucket system can save time and keep the process simple. However, some mistakes can create extra cleanup, maintenance, or interruptions. These issues commonly happen when small details get overlooked. Using a milking bucket with loose connections, worn parts, or poor placement can make the process less consistent for cows and the people handling the equipment. Here are simple ways to manage these details and make daily milking more manageable.
Skipping Equipment Checks
Starting a milking session without checking the bucket system first can let small problems worsen. Taking a minute to inspect the equipment beforehand gives you a chance to catch visible wear or poor connections early.
Before milking, check components for these issues:
- hoses for cracks, kinks, or loose connections
- gaskets and seals for visible wear
- bucket lids for a secure fit
- fittings for looseness or damage
- pulsator connections for proper attachment
Using Worn or Damaged Parts
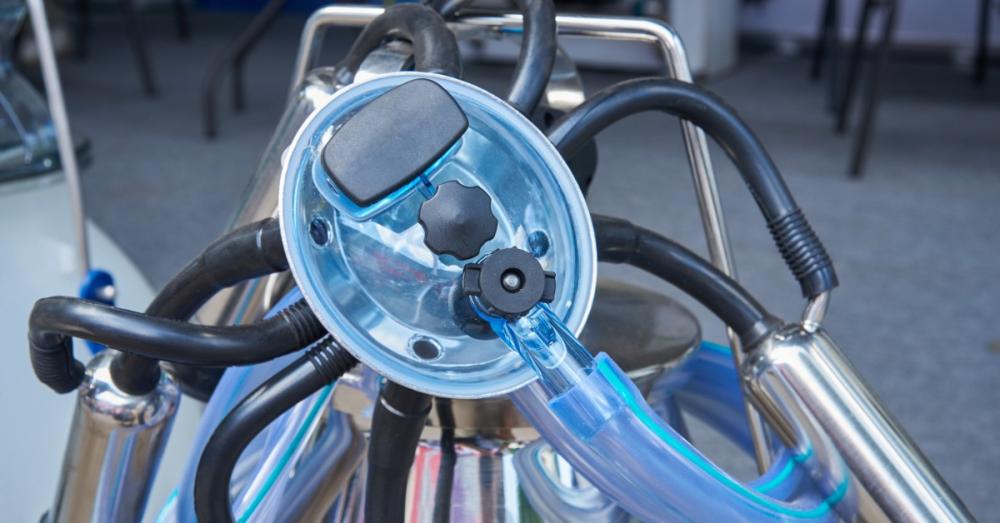
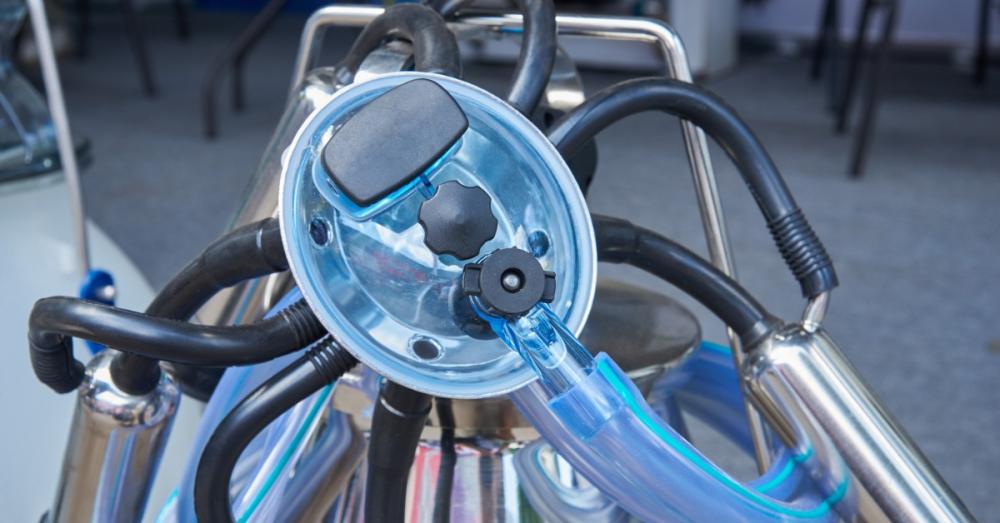
Every part of a bucket milking system needs to work properly with the components around it. Worn hoses, gaskets, seals, or fittings can create leaks, weaken connections, and make the system less dependable over time. Using worn parts is a common mistake that's easy to overlook when using a milking bucket for cows. Gradual wear may not be obvious until it starts affecting performance.
It’s also important to replace components with parts designed for the specific system. If you use portable milkers for cows, familiarize yourself with the individual parts to make routine inspections and replacements easier. Keeping frequently replaced components on hand lets you address routine maintenance quickly.
Watch for Vacuum Changes
Changes in vacuum performance can point to issues that aren’t easy to spot during a visual inspection. Unusual sounds, inconsistent suction, or a unit that doesn’t stay attached as expected may indicate a leak or loose connection somewhere in the system. If something feels different from a normal milking session, check the hoses, seals, lid, and fittings before continuing.
Attaching Teat Cups Incorrectly
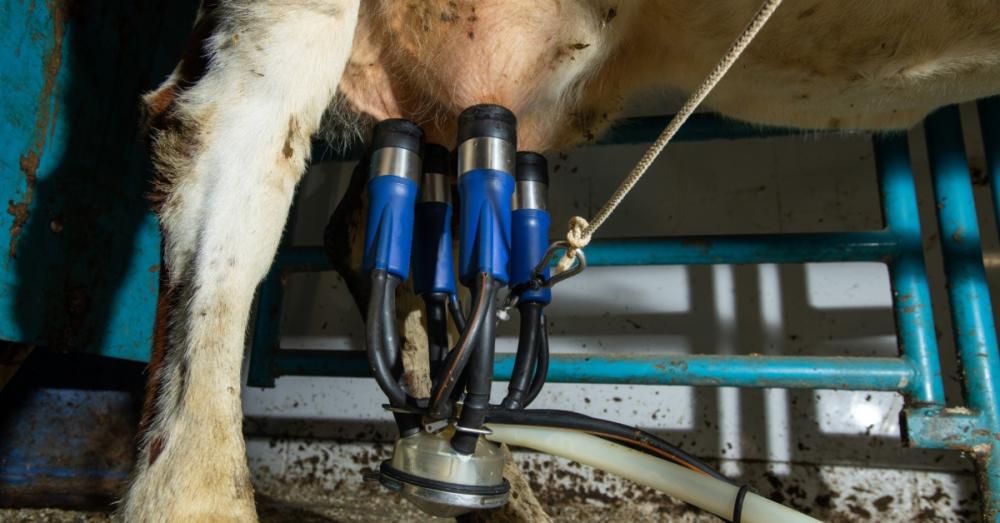
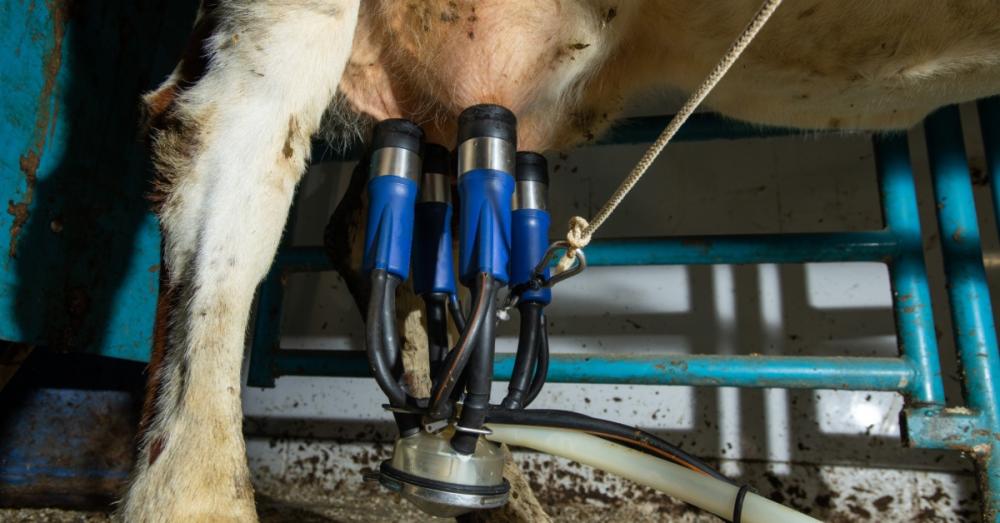
Teat cups are the parts of the milking unit that fit over the cow’s teats and connect to the claw through short milk tubes. They need to sit securely and evenly so the unit can maintain proper contact during milking. If they’re attached poorly, air can enter the system and the claw may hang unevenly.
Incorrect attachment can also cause the cups to slip, twist, or pull unevenly during milking. That can interrupt milk flow, force you to stop and readjust the unit, and place unnecessary strain on the connected hoses and fittings. Repeated slipping or poor alignment can also make milking less consistent.
Before attaching the cups, make sure the hoses are straight and untwisted. Position the claw beneath the cow so the tubing isn’t pulling strongly in any direction, then place each teat cup carefully and check that the unit hangs evenly. Keeping bedding, equipment, and other obstacles away from the hoses can also prevent the setup from shifting once milking begins.
Letting the Bucket Tip or Shift
The milking bucket holds the collected milk and connects to the rest of the system through the attached hoses and fittings. If the bucket tips or shifts too much, hoses can pull loose, milk can spill, or the setup may need to be repositioned.
An unstable bucket can also create problems even if it never fully tips over. Movement can tug on the tubing, change how the milking unit hangs, or interrupt the session. Keeping the bucket steady gives the rest of the system a more reliable base.
Before milking, place the bucket on a clean, level surface with enough room around it. Keep it close enough that the hoses aren’t stretched tight, but far enough from the cow and walking path to reduce the chance of bumps or kicks. Clearing away loose bedding and clutter can also make it easier to keep the bucket in place.
Handling the Bucket Improperly
A bucket system may be sturdy, but its hoses, fittings, and lid components aren’t meant to serve as handles. Pulling or lifting the unit by these parts can strain connections and may eventually loosen or damage them. When moving the bucket, use its handle and keep the container upright whenever possible.
Hoses need careful handling, too. Instead of dragging tubing across rough floors or allowing it to trail through dirty areas, gather and support the lines as you move the system. This reduces surface wear and avoids the need for extra cleaning afterward.
Improperly Cleaning Equipment
Cleaning is easier when it begins soon after milking, before milk residue has time to dry on equipment surfaces. Prompt cleaning also gives you a good opportunity to look over removable parts for wear, buildup, or damage. Follow the cleaning instructions for your specific bucket, hoses, inflations, and other components.
To clean the equipment correctly, you should:
- Rinse equipment soon after milking.
- Clean removable and hard-to-reach parts.
- Use products made for dairy equipment.
- Mix cleaning products as directed.
- Rinse components thoroughly.
- Let parts dry before storage.
Storing Equipment Before It Dries
After cleaning, give the milking bucket and its parts enough time to drain and dry completely. Damp hoses, lids, and other components can trap moisture if you put them away too soon. Follow the manufacturer’s drying recommendations before reassembling the system or storing it.
Where you store the equipment also affects how ready it is for the next milking. Choose a clean location where hoses and other parts won’t rest on dirty floors or face damage. An organized storage area also makes it easier to notice when a component is missing, worn, or due for replacement.
Stacking or reassembling wet components can create small areas where moisture takes longer to escape. When possible, separate removable pieces and place them so water can drain freely. Arrange hoses so liquid doesn’t settle in low points inside the tubing. Once everything is fully dry, you can reassemble the components or store them in a clean area until you need them again.
Using a milking bucket well doesn’t require overcomplicating the process. It comes down to knowing your equipment, paying attention to small changes, and giving each part the care it needs. Those habits can make a noticeable difference in how smoothly the system performs over time. Use these tips to keep milking sessions more organized and less rushed.