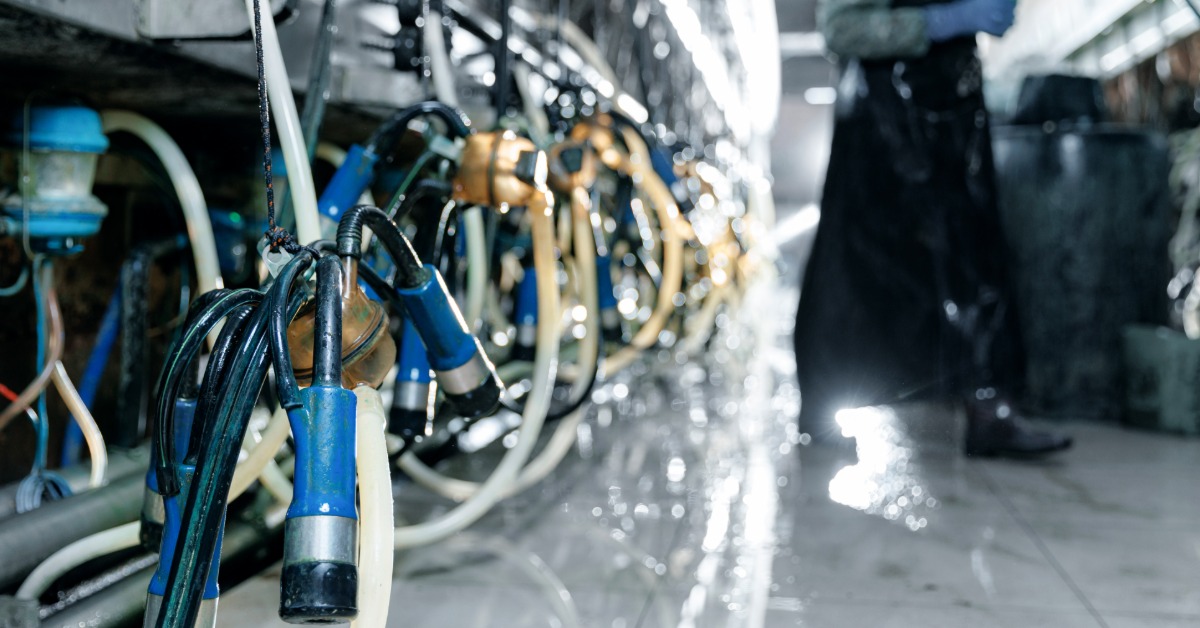
8 Tips for Cleaning Milking Tubes Effectively
A milking system can look perfectly fine on the outside while hiding residue you cannot see. When milk film, mineral buildup, or leftover wash water remains in the line, cleanup gets harder. On the other hand, the cleaner the milk tubes, the more smoothly every milking session goes. To clean milking tubes effectively, make these eight practical tips part of your routine.
Start With A Quick Rinse
The first step happens right after milking, not an hour later when everything has started to dry. Fresh milk residue lifts away much more easily than dried protein and fat, so a prompt rinse gives you a much better starting point.
Run lukewarm water (around 100 degrees Fahrenheit) through the tubes to flush out remaining milk. Make sure the water flows fully through every section of tubing, and avoid using hot water at this stage since it can set proteins and make them harder to remove later. If you’re working with removable tubing, you can also gently lift or reposition sections to help trapped liquid move through. This quick, thorough rinse sets up the rest of the cleaning process to work much more effectively.
Use The Right Water Temperature
Water temperature affects how well the detergent works and how much residue it removes from the tube. When the wash water is too cool, fat and film stick more easily. But water that’s too hot can make protein buildup harder to remove.
These basic checkpoints help you keep wash water working the way it should:
- Start with lukewarm rinse water.
- Use hot wash water at the detergent stage.
- Check temperatures with a thermometer.
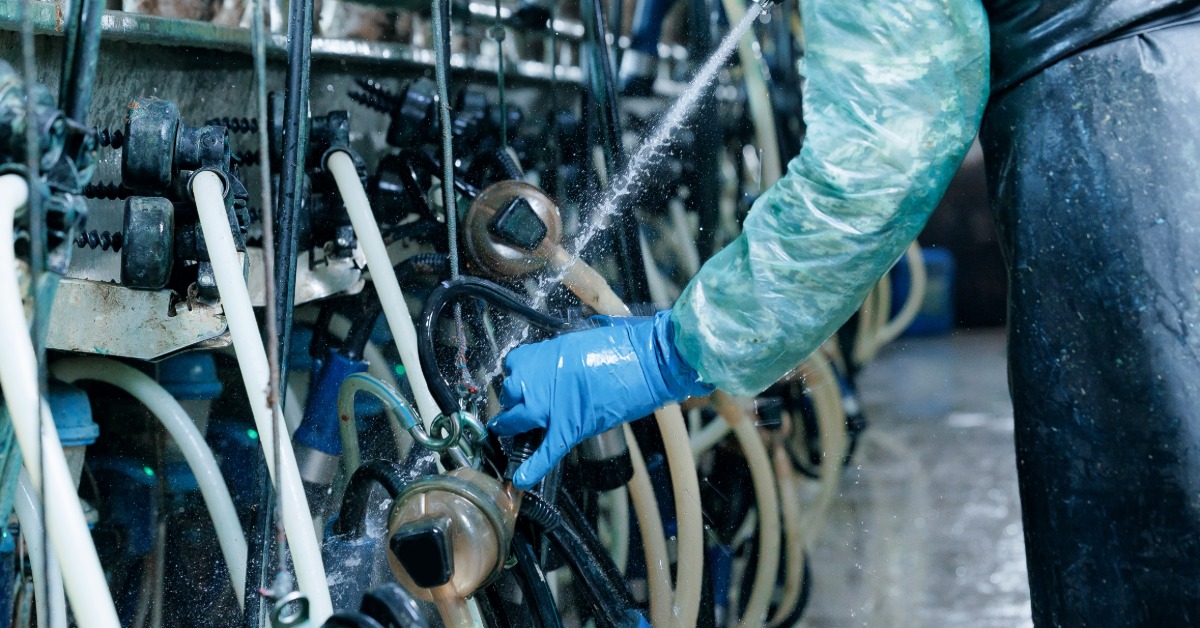
Watch the Wash Cycle
A wash cycle should do more than move water from one end of the system to the other. You want a steady flow, strong movement, and full contact inside the tubing so the cleaner can scrub the surface.
To make sure the wash cycle is working correctly, do not walk away as soon as you turn on the system. Instead, spend a minute watching how the water travels through the line, especially around curves, connections, and longer runs.
Match the Cleaner to the Job
One of the most important tips for cleaning milking tubes effectively is to use the right cleaning product for each step. Different types of buildup require different cleaners, since milk fat and protein respond to one type of product, while mineral film and milkstone require another. Follow the product directions every time.
Cleaners for Fat and Protein
Milk fat and protein leave behind organic residue, so these soils usually need an alkaline cleaner. This type of cleaner helps break down the film that forms inside the tubing after milking.
Cleaners for Mineral Buildup
Mineral deposits need a different approach because they do not lift away like milk solids. An acid cleaner helps dissolve mineral film and milkstone that can collect inside tubes over time. This step matters even more in areas with hard water, where mineral residue tends to build faster.
Daily Wash Products
A daily wash product should match the kind of residue your system collects after regular use. Many routines rely on an alkaline wash for day-to-day cleaning because milk fat and protein show up after every milking. Sticking with a consistent product and mixing routine helps keep results more predictable.
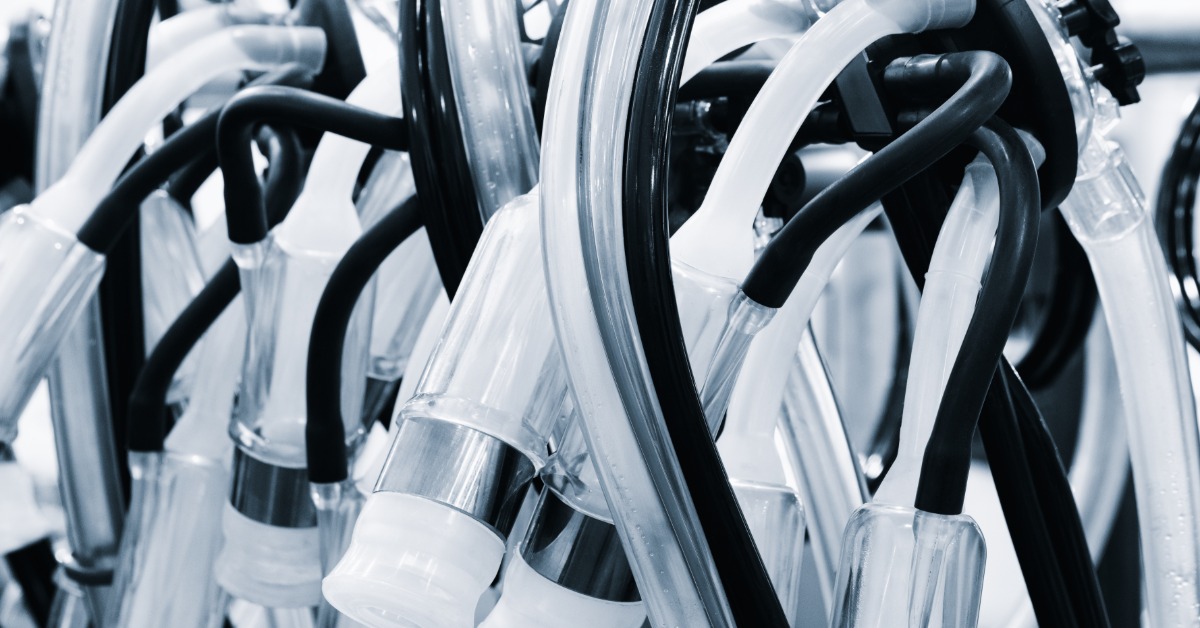
Replace Worn Parts Promptly
Some cleaning problems are really replacement problems in disguise. A tube that stays cloudy, feels rough inside, or holds onto film after cleaning may have too much wear for normal washing to fix. New milk hoses have a smooth surface, which is much easier to clean.
You can spot replacement needs by checking for cloudiness, cracks, stiffness, soft spots, discoloration, or a surface that no longer looks clean even after washing. Some areas tend to wear out faster than others. Pay close attention to the ends, bends, and connection points. Replacing worn or broken hoses makes the cleaning process more efficient.
Flush Every Low Spot
Milk tubing does not always wear evenly, and it does not always wash evenly either. Low spots, sags, extra-long loops, and awkward bends can hold water and residue longer than the rest of the line. Those sections deserve more attention because they tend to become repeat problem areas.
A clean-looking setup can still have one stubborn stretch that never gets washed as well as the rest of the system. Therefore, trace the tubing's route now and then and look for places where the liquid slows or pools. A small adjustment in how the hose hangs or routes may improve cleaning more than an extra scoop of detergent.
Dry Tubes Thoroughly
Cleaning does not really end when the wash water drains out. Any moisture left standing inside the line gives residue and microbes a place to hang around between milkings. Tubes need a chance to drain and air dry as completely as possible.
A solid drying routine usually includes these habits:
- Hang removable tubing so water can drain out.
- Store cleaned parts in a clean, dry area.
- Avoid leaving loops that trap puddles.
- Check low points where water likes to collect.
- Sanitize close to the next milking time.
Sanitize Before Milking
Sanitizing prepares milking tubes for safe contact with fresh milk after they have already been cleaned. While cleaning removes visible residue, sanitizing targets remaining microorganisms on the surface. This step helps maintain better milk quality and keeps the system in a more controlled condition before use.
You should sanitize within 30 minutes of the next milking to destroy any accumulated bacteria. Use a properly mixed sanitizer solution and run it through the tubing so all interior surfaces are fully coated. Once the sanitizer has passed through the line, let the tubing drain according to the product instructions so it is ready for milking.
Keeping milking tubes clean takes more than a quick wash at the end of the job. Every step, from rinsing and washing to drying and sanitizing, works together to keep the system cleaner and easier to maintain. To ensure an effective process, look for buildup and trapped moisture. If your milk tubes are worn out, replace them to improve cleaning and milk handling. With a simple routine, you can keep your system in its best condition.