The Ultimate Guide to Cleaning Your Milking Machine
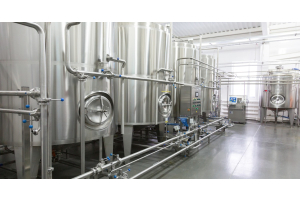
Your milking equipment represents a significant investment in the success of your dairy operation. Without proper maintenance, bacterial buildup compromises milk quality, threatens animal health, and leads to costly equipment failures that disrupt your entire operation.
Every dairy producer knows that consistent cleaning protocols separate successful operations from those struggling with contamination issues. Use this comprehensive guide for cleaning your milking machine to maintain peak equipment performance while protecting your herd and your bottom line.
Prepare Your Cleaning Supplies
Success starts with having the right tools and cleaning agents readily available before you begin any maintenance routine. Make sure you have these cleaning agents on hand before you start the process:
- Alkaline detergent: specifically formulated to break down fats and proteins that accumulate during milking sessions
- Acid-based detergent: essential for dissolving mineral deposits that hard water leaves behind over time
- Hot water at 170°F or higher: necessary to activate cleaning agents and eliminate stubborn residues
Always verify that your sanitizers meet dairy industry standards to prevent introducing contaminants into your system. Avoid leaving cleaning agents out until the time of cleaning to ensure they’re fresh and efficient.
Disassemble Equipment Components
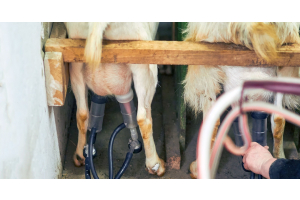
Proper disassembly allows you to access every surface where bacteria hide and multiply between milking sessions. Remove teat cups, milk lines, cluster units, filters, and connecting hoses with care to prevent damage to seals or connections. Disassembled parts are easier to focus on and reveal areas that circulation cleaning cannot reach effectively, particularly in joints and crevices where milk residue tends to accumulate.
Thoroughly cleaning your milking machine requires this level of access to achieve the sanitation standards your operation demands. Take note of how components fit together during removal to ensure correct reassembly later.
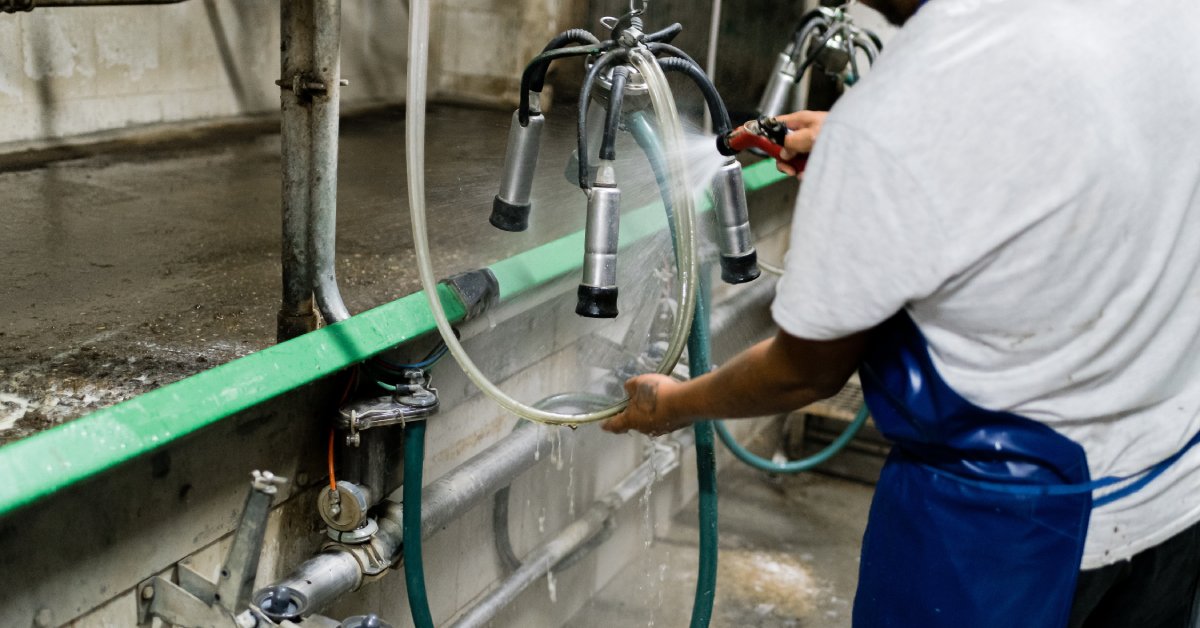
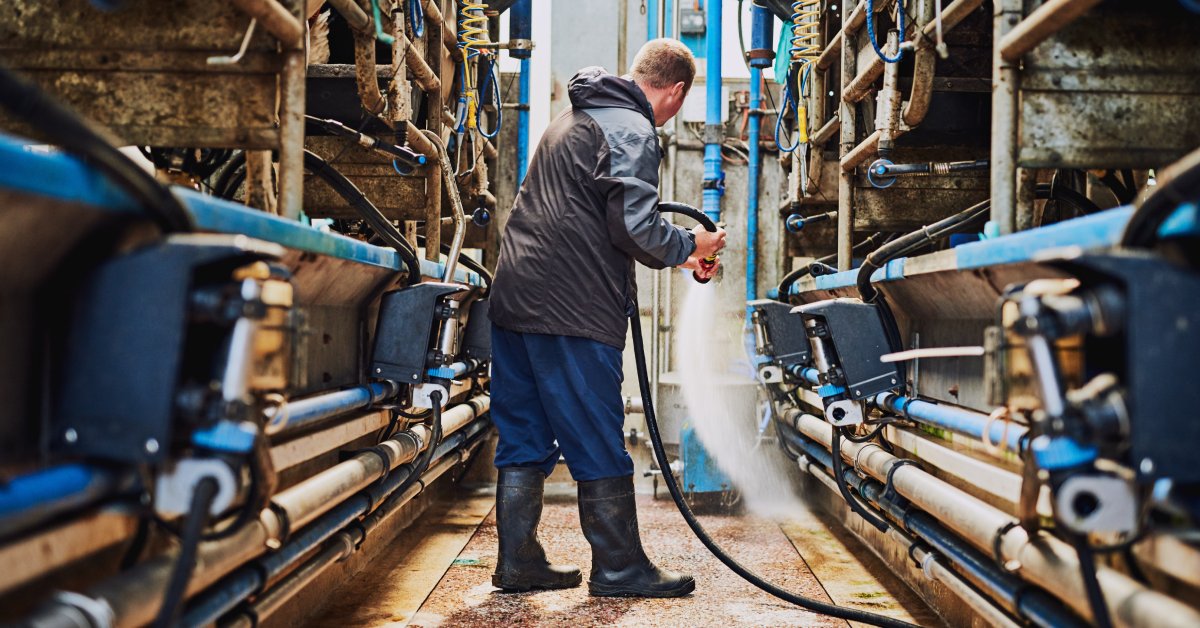
Rinse With Lukewarm Water
Start your cleaning process with lukewarm water between 100 and 110 degrees Fahrenheit to remove residual milk without causing protein to set on equipment surfaces. Cold water fails to remove milk fats effectively, while water that’s too hot causes proteins to coagulate and stick to stainless-steel surfaces.
Allow this initial rinse to flow through all milk-contact surfaces for several minutes to remove loose debris and prepare the surfaces for detergent application. This preliminary step prevents milk residue from interfering with the effectiveness of your cleaning agents. Proper water temperature at this stage sets the foundation for successful equipment sanitization.
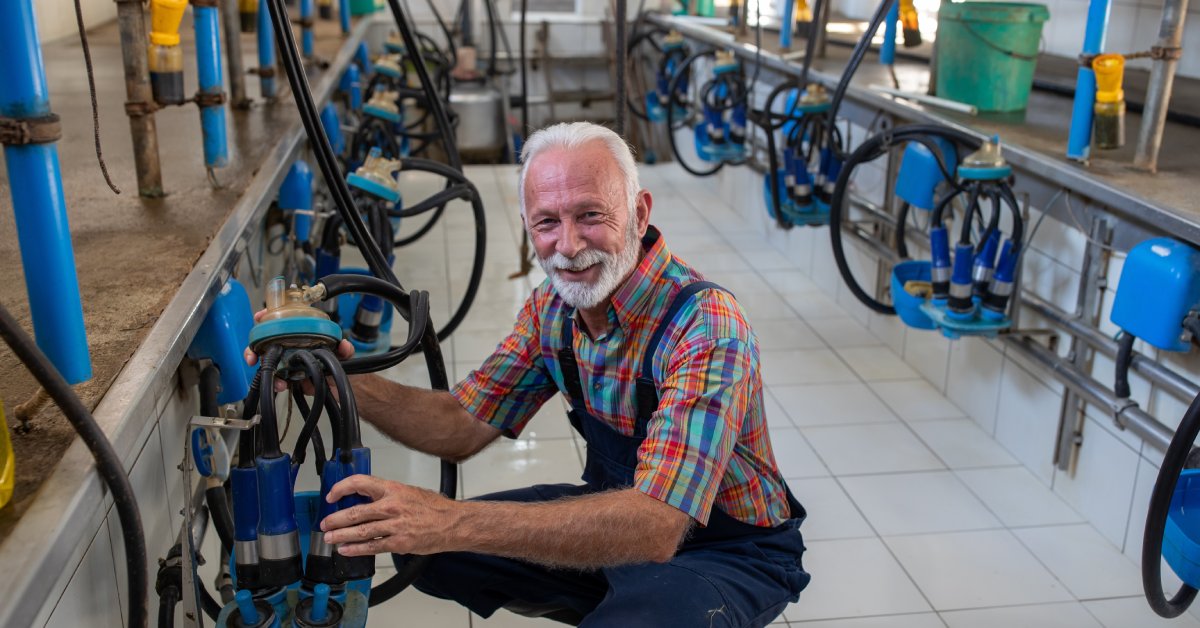
Inspect Components for Damage
Visual inspection during cleaning reveals wear patterns, cracks, or damage that could compromise milk quality or equipment function. Check teat cup liners for splits or tears that harbor bacteria and cause discomfort during milking. Examine milk lines for residue buildup, blockages, or signs of wear that indicate replacement needs.
Filter elements require scrutiny to ensure debris hasn’t compromised their effectiveness. Cow milker pump components require regular assessment to identify unusual wear or clogging that may affect vacuum performance and milk flow. Each component has different maintenance and cleaning requirements to maintain functionality.
Apply Alkaline Detergent Solution
A hot detergent solution between 140 and 160 degrees Fahrenheit breaks down fats and proteins that standard rinsing cannot remove completely. Allow the alkaline solution to circulate throughout your entire milk handling system, ensuring it contacts all interior surfaces where residue accumulates. Use appropriate brushes to scrub components that circulation alone cannot reach, paying special attention to connections and fittings.
Follow manufacturer guidelines for concentration and contact time to achieve maximum cleaning effectiveness. This step removes the organic matter that provides nutrients for bacterial growth between milking sessions.
Rinse With Hot Water
Hot water at 170 degrees Fahrenheit removes alkaline detergent residues while providing additional fat-dissolving action. This temperature ensures the complete removal of cleaning agents that could affect milk taste or quality if left on equipment surfaces.
Allow hot water to circulate through the system for adequate contact time with all milk-contact surfaces. Monitor the water temperature throughout the rinse to maintain effectiveness, as cooler water may fail to remove all detergent residues. Proper hot water rinsing prepares your equipment for the acid wash treatment that follows.
Remove Mineral Deposits With Acid Wash
Acid-based cleaners dissolve mineral deposits and milkstone left behind after applying alkaline detergents. Hard water accelerates mineral buildup that restricts flow and creates rough surfaces where bacteria establish colonies. This treatment restores smooth surfaces that resist bacterial adhesion and maintain proper flow characteristics.
Follow manufacturer dilution ratios precisely, as concentrated acid solutions damage equipment while weak solutions prove ineffective. Allow the acid solution adequate circulation time through pipes and lines to dissolve accumulated deposits completely.
Sanitize All Surfaces
Approved dairy sanitizers, such as Vanodine Dairy Hypochlorite and Divosan TC86 VS8, eliminate bacteria and pathogens that survive the washing process, providing the final barrier against contamination. Allow sanitizer to contact all milk-handling surfaces for the manufacturer’s recommended time to ensure complete pathogen elimination.
Proper sanitizer concentration is essential for effectiveness without leaving residues that affect milk quality. Some sanitizers require a final rinse with potable water, while others leave protective films that continue to work between cleaning cycles. Cleaning methods reach their full potential only when combined with effective sanitization protocols.
Dry Components Completely
Moisture creates the kind of environment that bacteria need to multiply rapidly between cleaning sessions, undermining your sanitation efforts. Use clean, lint-free cloths to dry disassembled components, or allow them to air dry in a sanitary location away from contamination sources. Ensure all water drains from milk lines and internal passages where standing water supports bacterial growth.
Complete drying extends the time between required cleanings while maintaining the sanitary conditions your operation requires. Rushed drying that leaves moisture behind negates the benefits of thorough washing and sanitizing procedures.
Reassemble Your Equipment
Careful reassembly ensures proper equipment function while maintaining the sanitary conditions you’ve established through cleaning. Verify that all seals, gaskets, and connections fit securely to prevent air leaks that compromise vacuum performance.
Each component must return to its correct position to maintain proper milk flow and equipment operation. Take time to ensure connections are tight without overtightening, which damages threads or seals. Proper reassembly protects your cleaning investment by maintaining system integrity until the next scheduled maintenance cycle. For additional help in reassembling equipment, contact our professionals at the Parts Dept.
Test System Function
Run clean water through your reassembled system to verify proper operation and identify any leaks or loose connections. Monitor vacuum levels to confirm that all seals function correctly and maintain the pressure differentials your milking system requires.
Check milk flow paths for restrictions or blockages that could indicate improper assembly or missed cleaning steps. Test all controls and automation features to ensure they respond correctly after reassembly. System testing validates that your cleaning procedures restore full equipment capability without introducing new problems.
Your milking equipment investment requires protection through proper maintenance that extends service life while maintaining milk quality standards. These cleaning procedures prevent costly breakdowns and contamination issues that can devastate dairy operations of any size. Consistent application of these techniques keeps your equipment running smoothly while protecting animal health and product quality. Contact Parts Dept specialists today to discuss cleaning supplies, replacement components, and maintenance schedules that keep your operation running at peak performance year-round.