Milking a Goat: Everything You Should Know
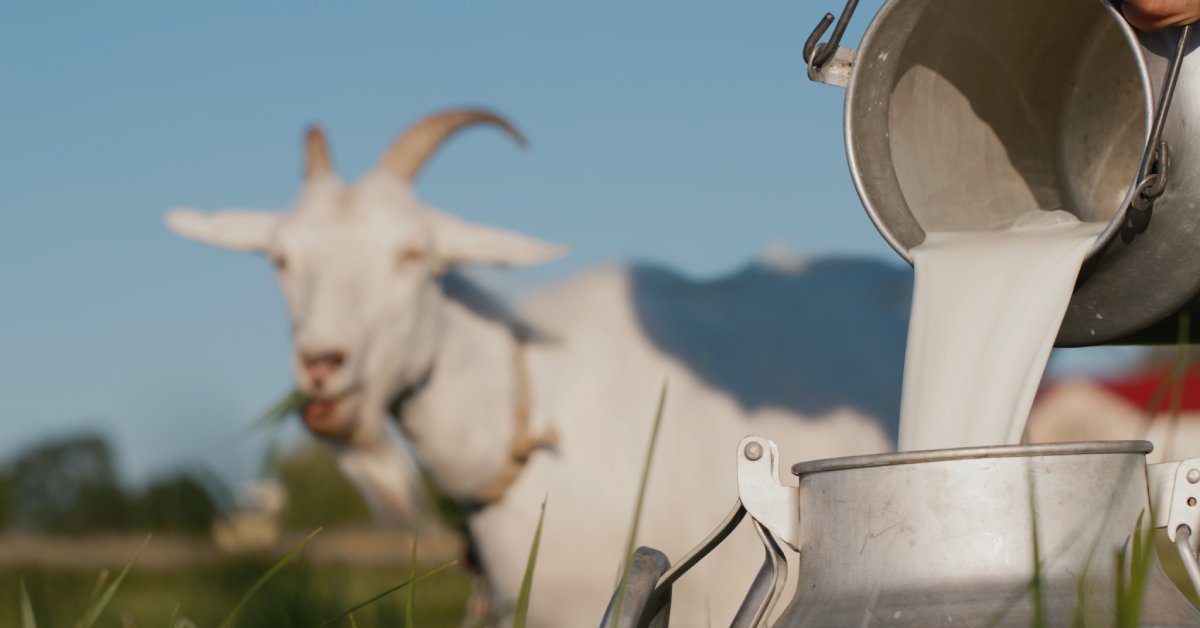
Goat milk is a creamy, delightful alternative to cow’s milk that people have been consuming across the globe, from Eastern Europe to South America to Asia. Goat milk is popular for its rich, slightly tangy yet earthy and subtly sweet flavor.
Whether you’re a seasoned hand or just getting started, understanding the nuances of the milking process can make all the difference. Every step of the milking process is crucial for maintaining the animal’s health and producing high-quality milk, from preparing your equipment to ensuring the goat is comfortable. This guide will walk you through everything you should know about milking a goat to make it a smooth and rewarding experience for all!
Preparing for Milking
Choose the Right Time
Consistency is key when it comes to milking your goat. Pick a specific time of day for milking and stick to it—early morning and evening are popular choices.
A reliable routine keeps your goat relaxed and comfortable and maintains steady milk production. Remember, you need to milk your goat either once or twice daily, so set a schedule that works for both of you.
Build a Safe Milking Environment
Creating the perfect milking environment is essential for a smooth process. Choose a spot that’s calm, clean, and away from loud noises or distractions. A peaceful atmosphere keeps your goat stress-free, which leads to a better milking experience and higher-quality milk.
A milking stand could very well become your best friend! It provides a secure and comfortable place to hold your goat, making the entire process significantly easier for both of you. A sturdy stand ensures stability and allows you to focus on achieving an efficient and seamless milking session, whether you’re working with a seasoned doe or a first-timer.
Essential Equipment
The right tools make the process more efficient and ensure the highest standards of hygiene and milk quality. Here’s a handy checklist of equipment you’ll need for a smooth milking routine when it comes to machine milking.
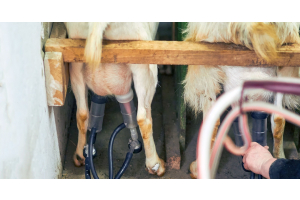
Milking Machine
Choose a reliable model tailored to the size of your herd. It should include silicone teat cups and tubing designed to collect milk gently and efficiently. Look for a machine that balances ease of use with durability.
Sanitizing Solution
Cleaning is key! Use a high-quality sanitizing solution for milking equipment, such as iodine. This solution prevents bacteria from lingering on surfaces and ensures the machine is safe to use for every session.
Maintenance Tools
Keep spare tubing, gaskets, seals and other parts on hand to replace worn-out components. Regular maintenance extends the life of your equipment and keeps the milking process running smoothly.
Filter System
Invest in a good filtering system to remove any unwanted particles or contaminants from the milk before storing it. This step is essential for maintaining a clean, high-quality product.
Cooling Equipment
Rapid cooling is vital for preserving milk freshness. Make sure your setup can chill milk immediately after collection to lock in its quality, whether it’s a refrigerator or a quick-cooling unit.
Maintaining Hygiene
Clean the Milking Machine Before and After Use
Proper cleaning of your milking machine is essential. Disassemble all parts and wash them thoroughly with warm, soapy water after each session. Once cleaned, sanitize the equipment with an iodine solution to prevent the growth of bacteria. This step ensures your goat’s milk remains pure and safe for consumption.
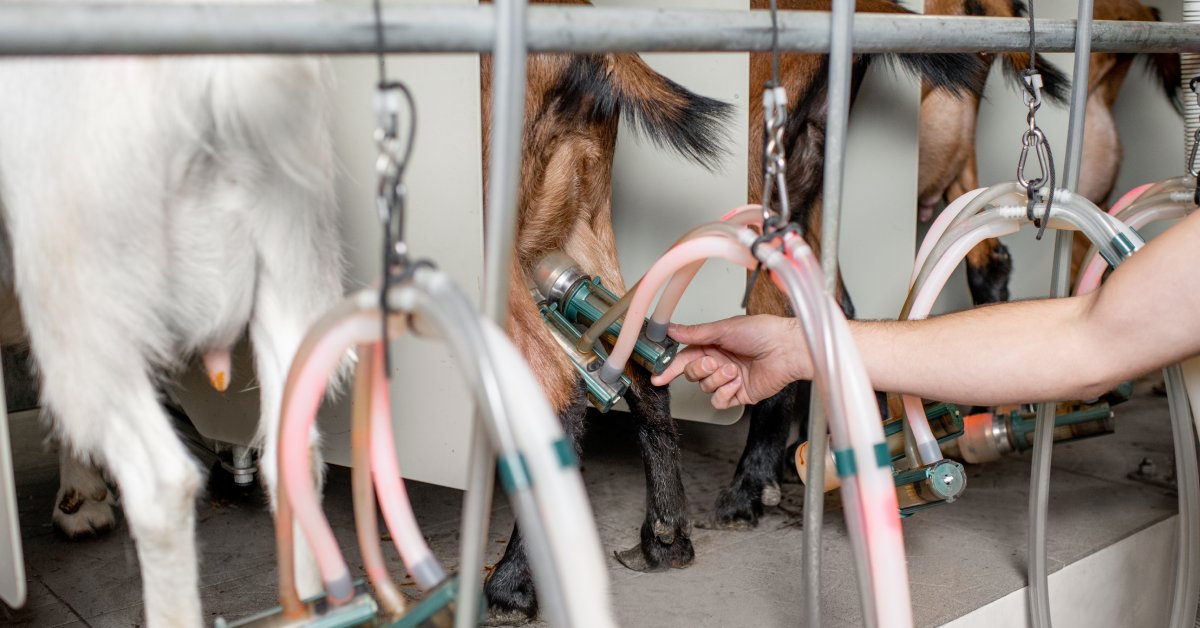
Sanitize the Goat’s Udder
Take a moment to clean your goat’s udder and teats before attaching the milking machine. Use a warm, sanitized cloth to gently wipe away any dirt or debris. Doing so promotes hygiene and ensures the goat feels comfortable during the milking process.
Perform Routine Machine Maintenance
Regular maintenance keeps your milking machine functioning at its best. Frequently inspect the tubing, seals, and other components for wear and tear. Promptly replace any damaged parts to maintain cleanliness and avoid potential contamination. Staying proactive will save you from headaches down the line.
Properly Filter and Handle the Milk
Immediately filter the milk after collecting it to remove any particles or debris that may have found their way in. Once filtered it’s essential to cool it quickly and then bottle it to get the freshest, high quality milk you can.
Check for Contamination
Periodically conduct tests on your milk, especially if you’re producing it for sale. These tests can help you identify and prevent any issues, ensuring your milk remains free from harmful bacteria. A little vigilance goes a long way in delivering a safe and wholesome product!
Milking Techniques
Here are some tips to keep in mind if you plan on goat milking the old-fashioned way.
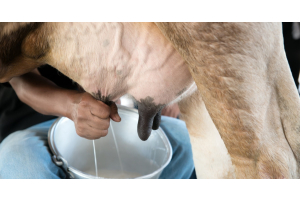
Practice Proper Hand Positioning
Gently encircle the base of the teat with your thumb and forefinger, then squeeze downward with the rest of your fingers to express the milk. This technique ensures smooth milk flow and minimizes any discomfort for the goat. Remember, proper positioning is key to efficient and effective milking.
Start Slow
Using gentle and consistent pressure is a must. Start with a light touch to put the goat at ease and avoid rushing the process. Incorrect technique reduces milk flow and can make the experience unpleasant for the goat—keeping things gentle will go a long way.
Alternate Sides
Be sure to alternate between each teat during milking for even milk flow and better udder health. This practice prevents uneven pressure and keeps the goat comfortable while encouraging efficient milk production.
Stay Consistent
Consistency is everything! Milking at a steady pace ensures you fully empty the udder, which is crucial for the goat’s comfort and maintaining its milk yield. A regular rhythm also helps you work efficiently and creates a relaxing routine for both you and the goat.
Caring for Your Goat
Provide a Treat During Milking
Keeping your goat comfortable and content during milking is essential, and a little treat can go a long way! Place a small bucket of grain on the milking stand as a distraction. Doing so keeps your goat happily occupied and turns milking time into a positive experience for them. A happy goat is a cooperative goat!
Monitor Udder Health
Regularly check your goat’s udder for any signs of swelling, redness, or unusual warmth. These could be indicators of mastitis or other health concerns. Catching any issues early ensures your goat stays healthy and maintains a good milk supply. Don’t forget to clean the udder before and after milking to prevent infection and keep things hygienic.
Rotate Milking Goats
Rotate your milking schedule if you’re caring for multiple goats. Giving each goat a break from milking now and then maintains their overall health and well-being. This practice also allows their bodies to naturally cycle, ensuring they stay in top condition all year round. Balance is key to happy, healthy goats!
With these steps and tips on hand, you’ll have everything you need to know about milking a goat. Consider adding a portable goat milking machine to your toolkit if you want to take your process to the next level or if you have a smaller herd.
The Parts Department’s mobile machines are perfect for small-scale goat milk production, allowing you to easily and efficiently milk your goats wherever they may be. Our portable milking machines provide a convenient solution, whether you're a homesteader or a small farm owner.