
Posted by Scott Ford on Aug 19th 2026
When To Replace Milking Tubes in High-Use Dairies
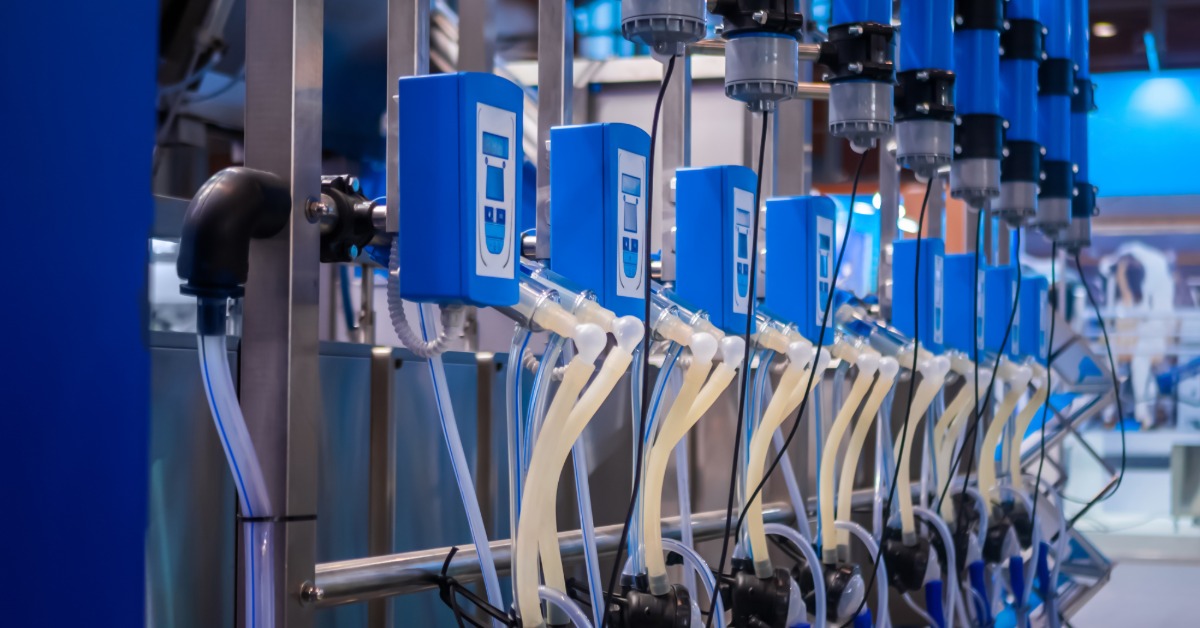
A busy milking system can move through several cycles before small signs of wear become obvious. Over time, tubing may stiffen, crack, trap residue, or lose the fit needed for steady operation. In high-use dairies, frequent milking and cleaning cycles can accelerate this wear. If you notice any of these signs, replace your system's milking tubes to ensure clean and even milk flow.
Milking Tube Wear and Tear
Milking tubes change as they age and go through repeated cleaning and operating cycles. Regular visual and hands-on checks can reveal damage before a tube leaks or becomes difficult to clean.
Visible Cracks and Splits
Cracks may appear near bends, fittings, clamps, or other areas that experience repeated movement. Even a small split can grow as the tube flexes during use. Damaged surfaces may also create places where residue collects.
Stiff or Brittle Tubing
The tube should remain flexible enough to fit securely and move without splitting. Heat, cleaning chemicals, age, and repeated use can gradually make the material stiff or brittle. Hardened tubing may no longer seal properly around fittings. It can also crack when bent, removed, or reinstalled.
Rough Interior Surfaces
The inside of a milk tube should remain smooth enough for effective cleaning and steady flow. Roughness may develop through abrasion, aging, chemical exposure, or repeated handling. These areas can be difficult to inspect without removing the tube. Replace tubing when the interior surface is scratched, pitted, or no longer smooth.
Cloudy or Discolored Surfaces
Some color change is normal as milking tubes age, but dark spots, yellowing, or uneven cloudiness may point to buildup or material wear. Cloudy tubing can also make residue inside the tube harder to see. Check whether the discoloration remains after the proper cleaning cycle. You can also compare the tube with newer tubing of the same type when you are unsure. If the surface stays cloudy, stained, or difficult to inspect, replace the tubing.
Cleaning Problems Signal Tube Wear
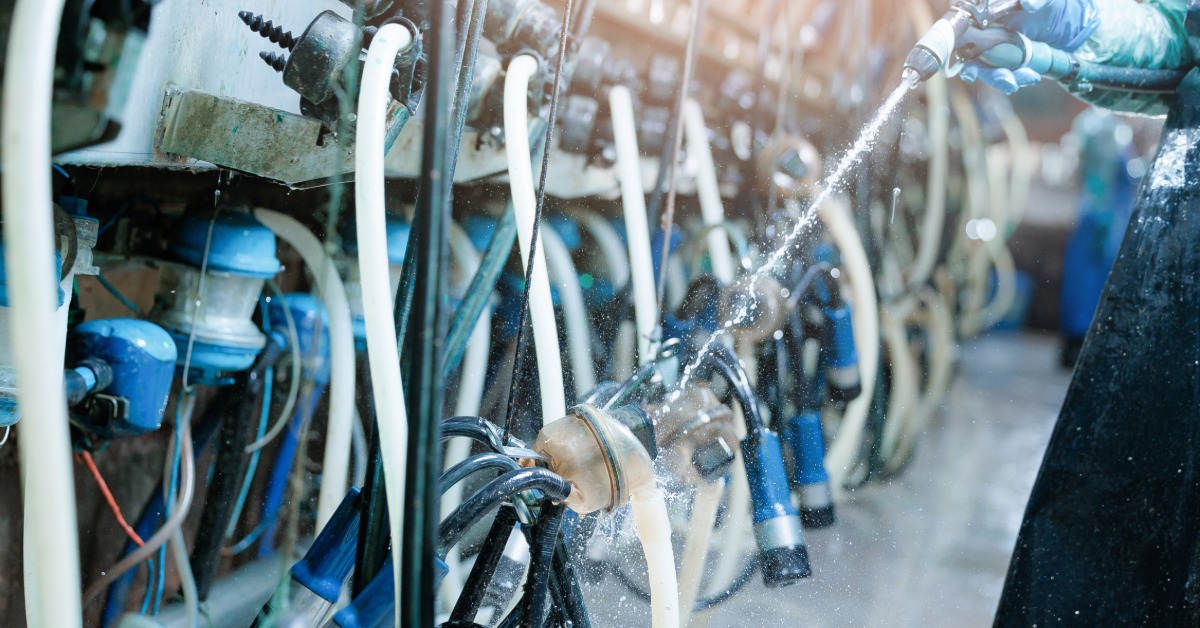
Cleaning issues may reveal wear that is not obvious from the outside. A worn milk transfer hose can develop scratches, rough areas, or hardened surfaces that are harder to rinse and sanitize.
Persistent Milk Residue
Residue that remains after the normal cleaning cycle may point to an interior surface problem. Scratches and worn areas can hold milk solids more easily than smooth tubing. Review the cleaning process first to rule out issues with water temperature, chemical concentration, or circulation. Replace the tube if buildup persists despite proper cleaning.
Odors After Cleaning
A clean tube should not continue to carry a sour or stale odor. Persistent smells may indicate that residue remains inside worn or damaged material. Check fittings and nearby components as well, since the odor may come from more than one location. Tubing that still smells after proper cleaning may need to be replaced.
Vacuum Changes Affect Milking Performance
Worn tubing can affect seals, airflow, and vacuum stability throughout the system. The exact symptoms depend on the tube’s location and the type of damage. Any sudden change in performance should prompt an inspection of the tubing, fittings, and connected components.
Worn milking tubes may cause these problems:
- Unstable vacuum levels: Readings may fluctuate when a tube leaks, collapses, or fits loosely.
- Slower milk flow: Restricted, kinked, or deteriorated tubing may interfere with normal movement through the system.
- Air leaks near connections: Hissing sounds or loose seals can indicate wear around fittings and tube ends.
- Longer milking times: Reduced system performance may extend the time needed to complete a milking cycle.
- Irregular pulsation performance: Air leaks or tubing problems may interfere with consistent pulsation.
Operating Conditions Affect Tube Lifespan
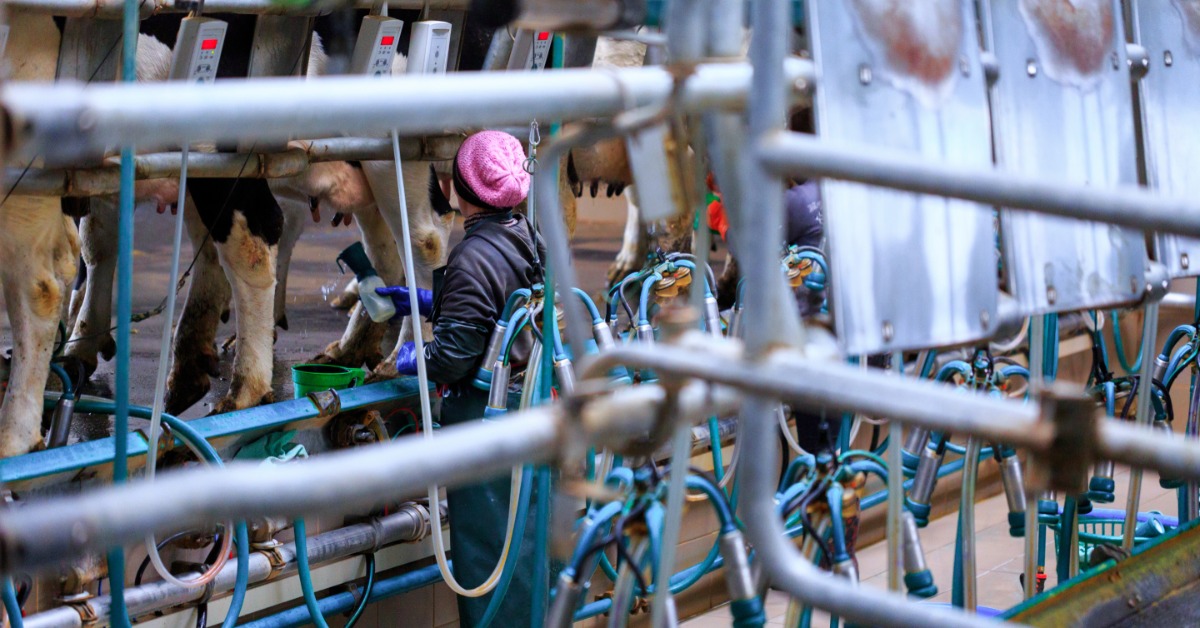
High-use dairies put tubing through frequent milking, cleaning, flexing, and temperature changes. Two operations using similar tubing may therefore need different replacement schedules. The number of daily cycles, system configuration, chemical exposure, and handling practices can all affect how quickly a tube wears.
Heat and concentrated cleaning chemicals can accelerate material deterioration when they fall outside the recommended ranges. Tight bends, poor routing, and repeated rubbing against equipment may also weaken the tube. Following the tubing and equipment manufacturers’ instructions can help reduce avoidable wear.
Routine handling also affects service life. Pulling tubing by force, twisting it during installation, or using tools that scratch the surface may cause early damage. Staff training can help keep inspection, removal, and installation practices consistent.
Build a Planned Replacement Schedule
In high-use operations, it is often safer to schedule changes before leaks, cleaning problems, or equipment interruptions occur. Along with inspecting the tubing, keep records so that it’s easier to tell when replacement may be due.
Track Installation Dates
Record the installation date each time tubing is changed. A label, maintenance log, or digital system can make the information easy to retrieve. Include the tube location and product details so staff know what was installed.
Record Milking Hours
Calendar age alone may not show how much use a tube has received. Recording milking hours or cycle counts provides a clearer picture of operating demand. This information is especially useful when comparing tubing across systems with different workloads.
Review Manufacturer Guidance
Tubing and equipment manufacturers may provide replacement intervals, inspection criteria, or operating limits. Use those recommendations as the starting point for your maintenance plan. Adjust inspection frequency when your dairy operates more often or under demanding conditions.
Select the Right Replacement
Waiting too long to replace worn tubing can lead to leaks, cleaning problems, and uneven system performance. Damaged tubing may also trap residue or place added strain on connected equipment. Replacing it before failure can help prevent downtime during milking.
The right milk transfer hose should fit securely and withstand the system’s cleaning, pressure, and operating conditions. Check the equipment manual or ask a knowledgeable supplier when specifications are unclear.
When replacing milking tubes, you should:
- Confirm the inside and outside diameters for a secure fit.
- Choose tubing with a wall thickness that can handle the required pressure and flexing.
- Verify that the material is approved for milk contact or the intended application.
- Make sure the tubing can bend without kinking or collapsing.
- Match the connection type to the system’s fittings and clamps.
- Check that the tubing can withstand heat and cleaning chemicals.
- Consider the system’s vacuum levels, temperature, and frequency of use.
Milking tubes do not all wear at the same rate, especially in systems that run through frequent daily cycles. Visual condition, flexibility, cleaning results, system performance, and service records can help you determine when to install new tubes. Use a documented schedule to make replacements more proactive, so routine maintenance doesn’t turn into extended downtime.